Creating a Zap
Step 1 - Log In to Zapier
To start utilizing Zapier with TapGoods, the first step needed is to sign up or log in to an account through Zapier (https://zapier.com/app/login).
After logging into Zapier, you can start creating a new zap by clicking on the Make A Zap button shown on the dashboard.
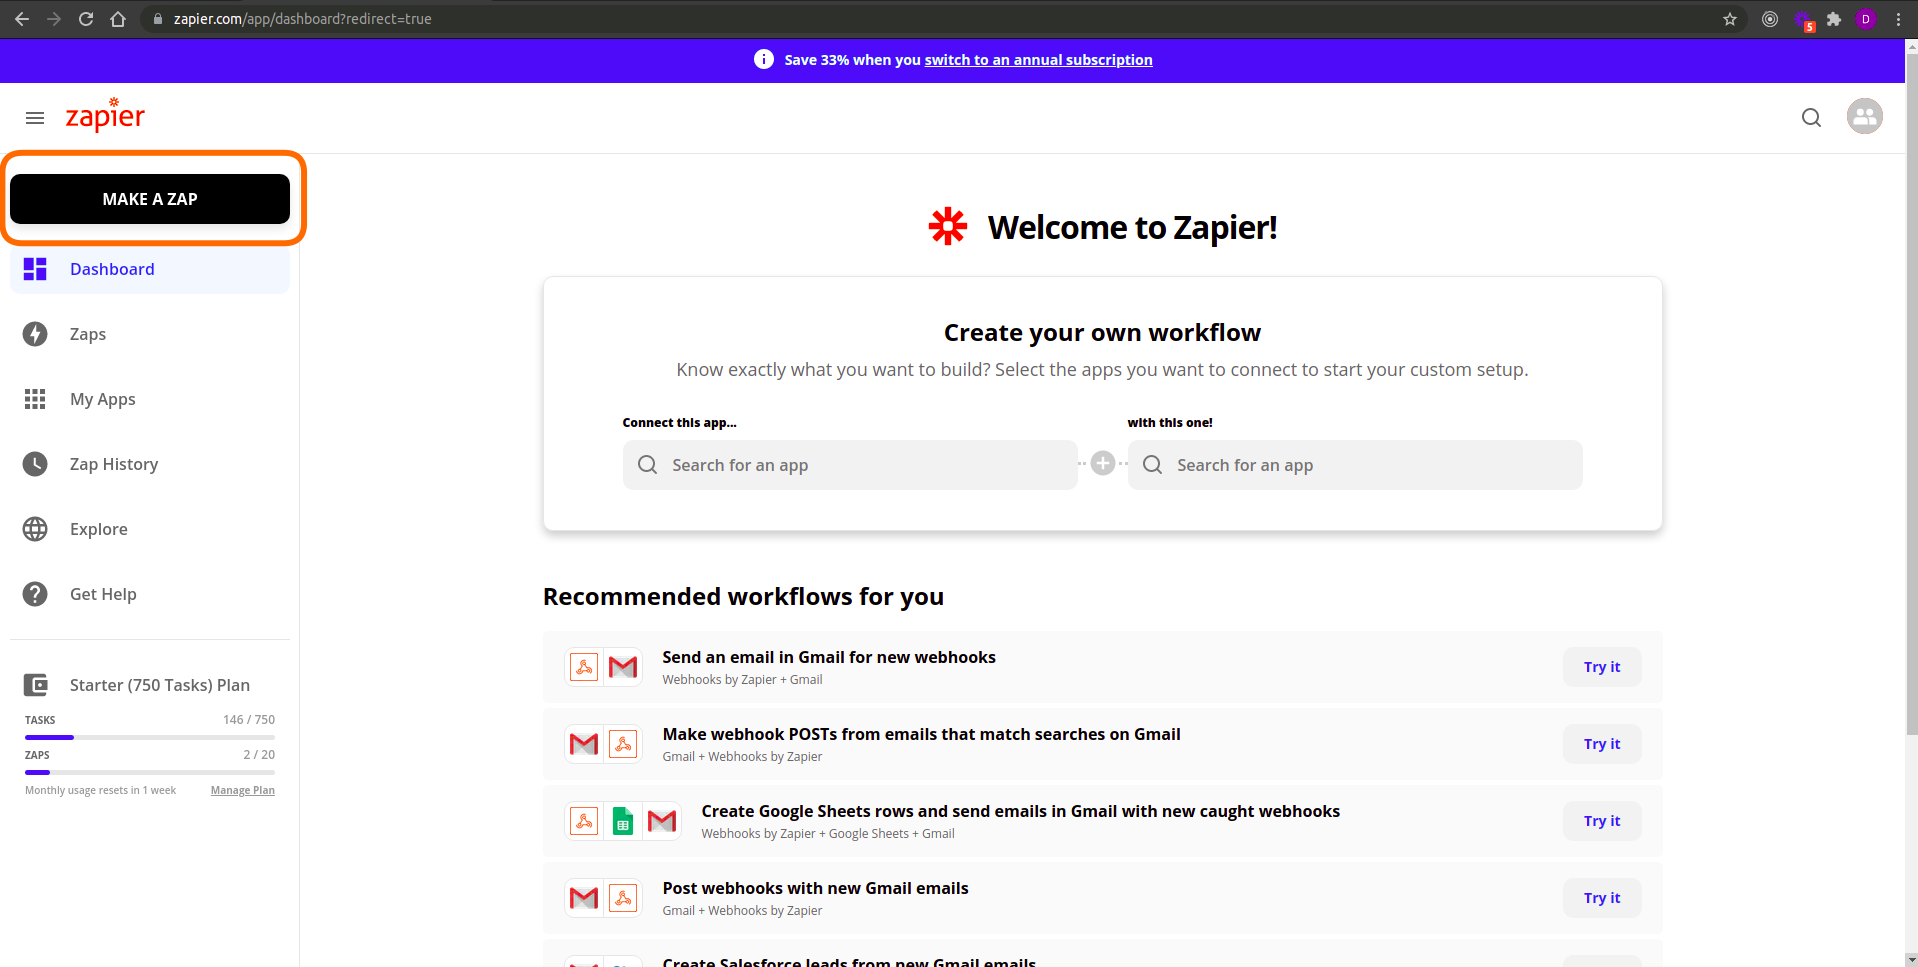
Click on the Make a Zap button located at the top left of Zapier Dashboard to create a zap.
Step 2 - Set Up the Trigger
The first step required to set up your new zap is to set the trigger.
Configure the Trigger
On the zap editor page, under the trigger settings, select the Webhook option located at the bottom right of the modal.
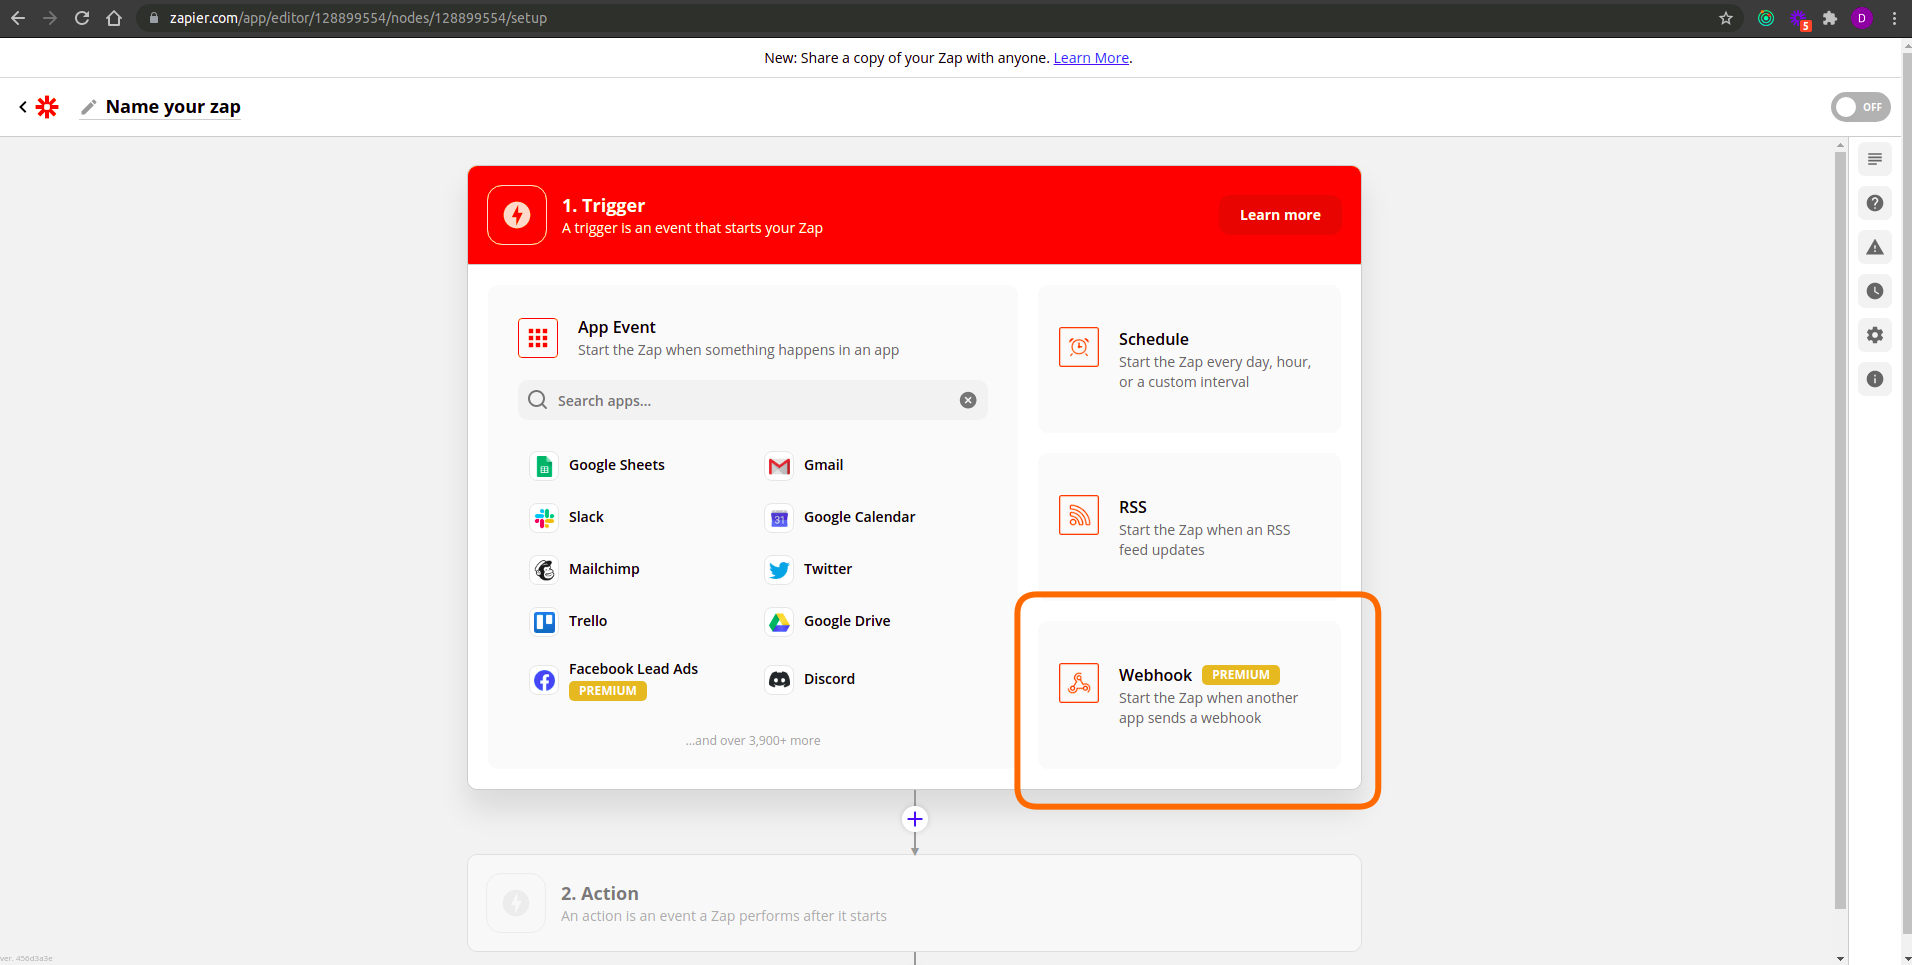
Start configuring your trigger by selecting the Webhook option.
From the Trigger Event selection, choose the Catch Hook option and click Continue.
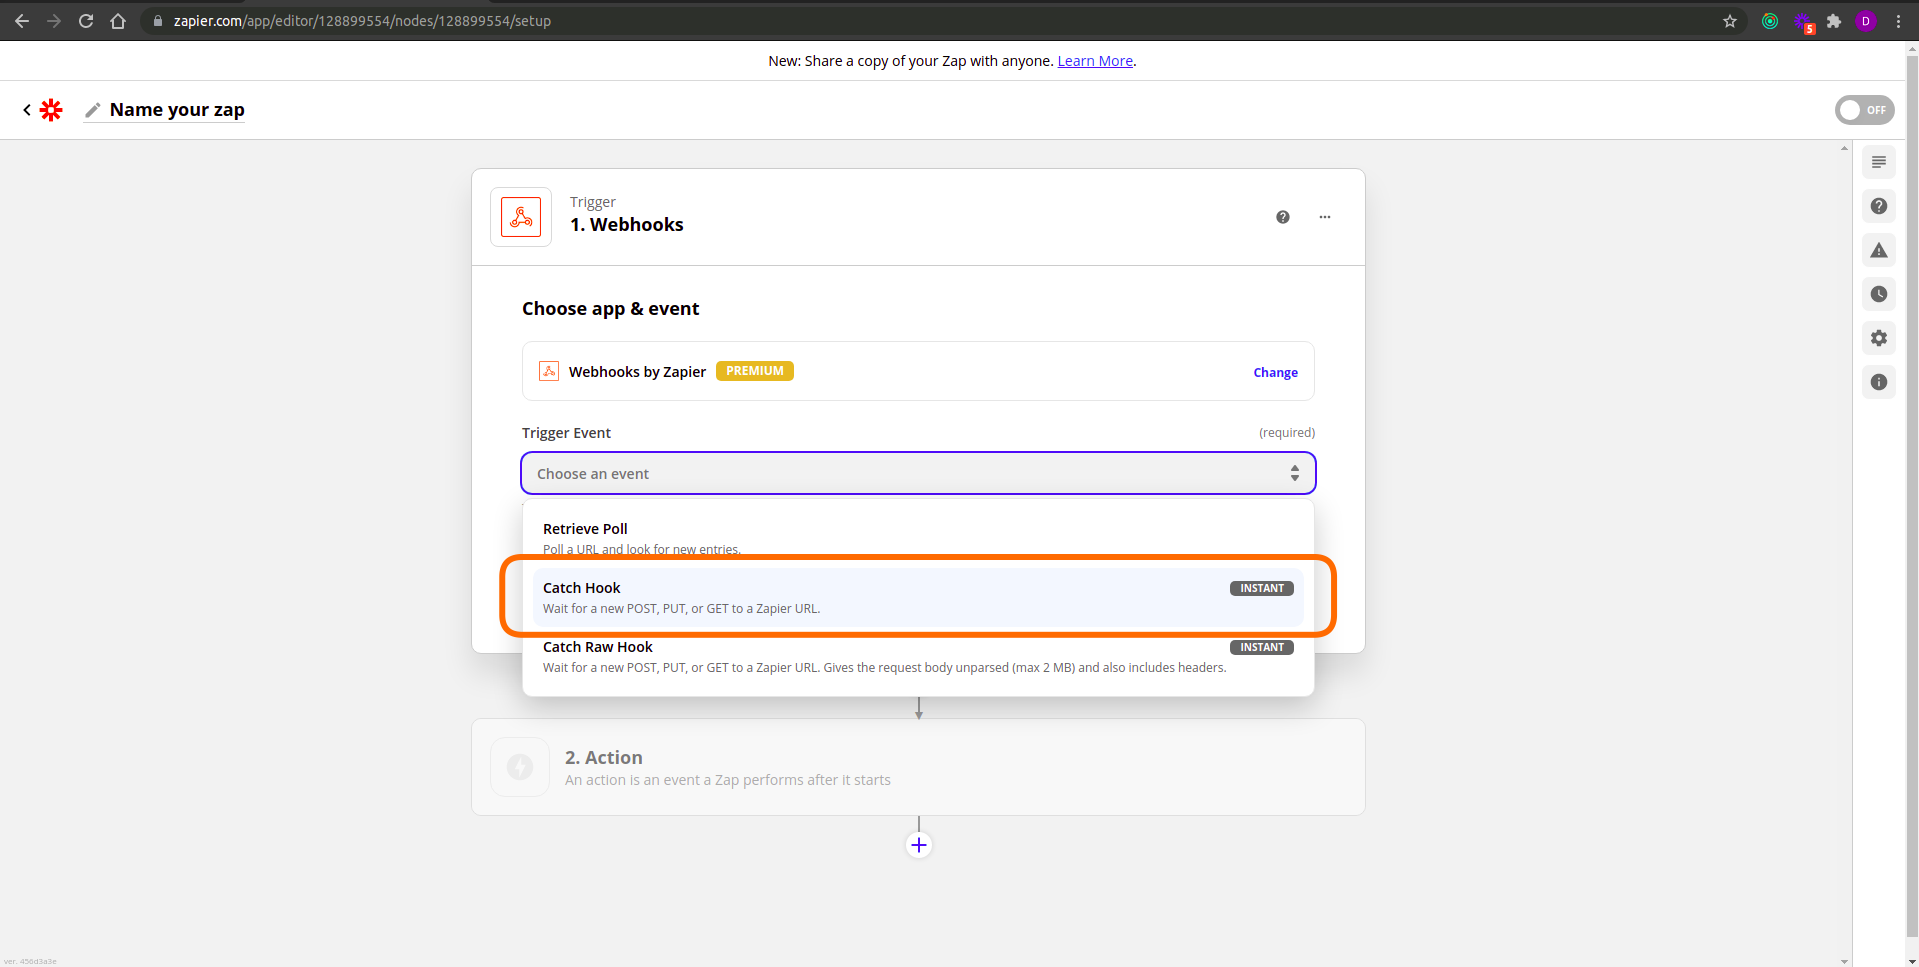
Select the Catch Hook option for the Trigger Event.
Connect the Trigger with TapGoods
Copy the Custom Webhook URL provided and click Continue.
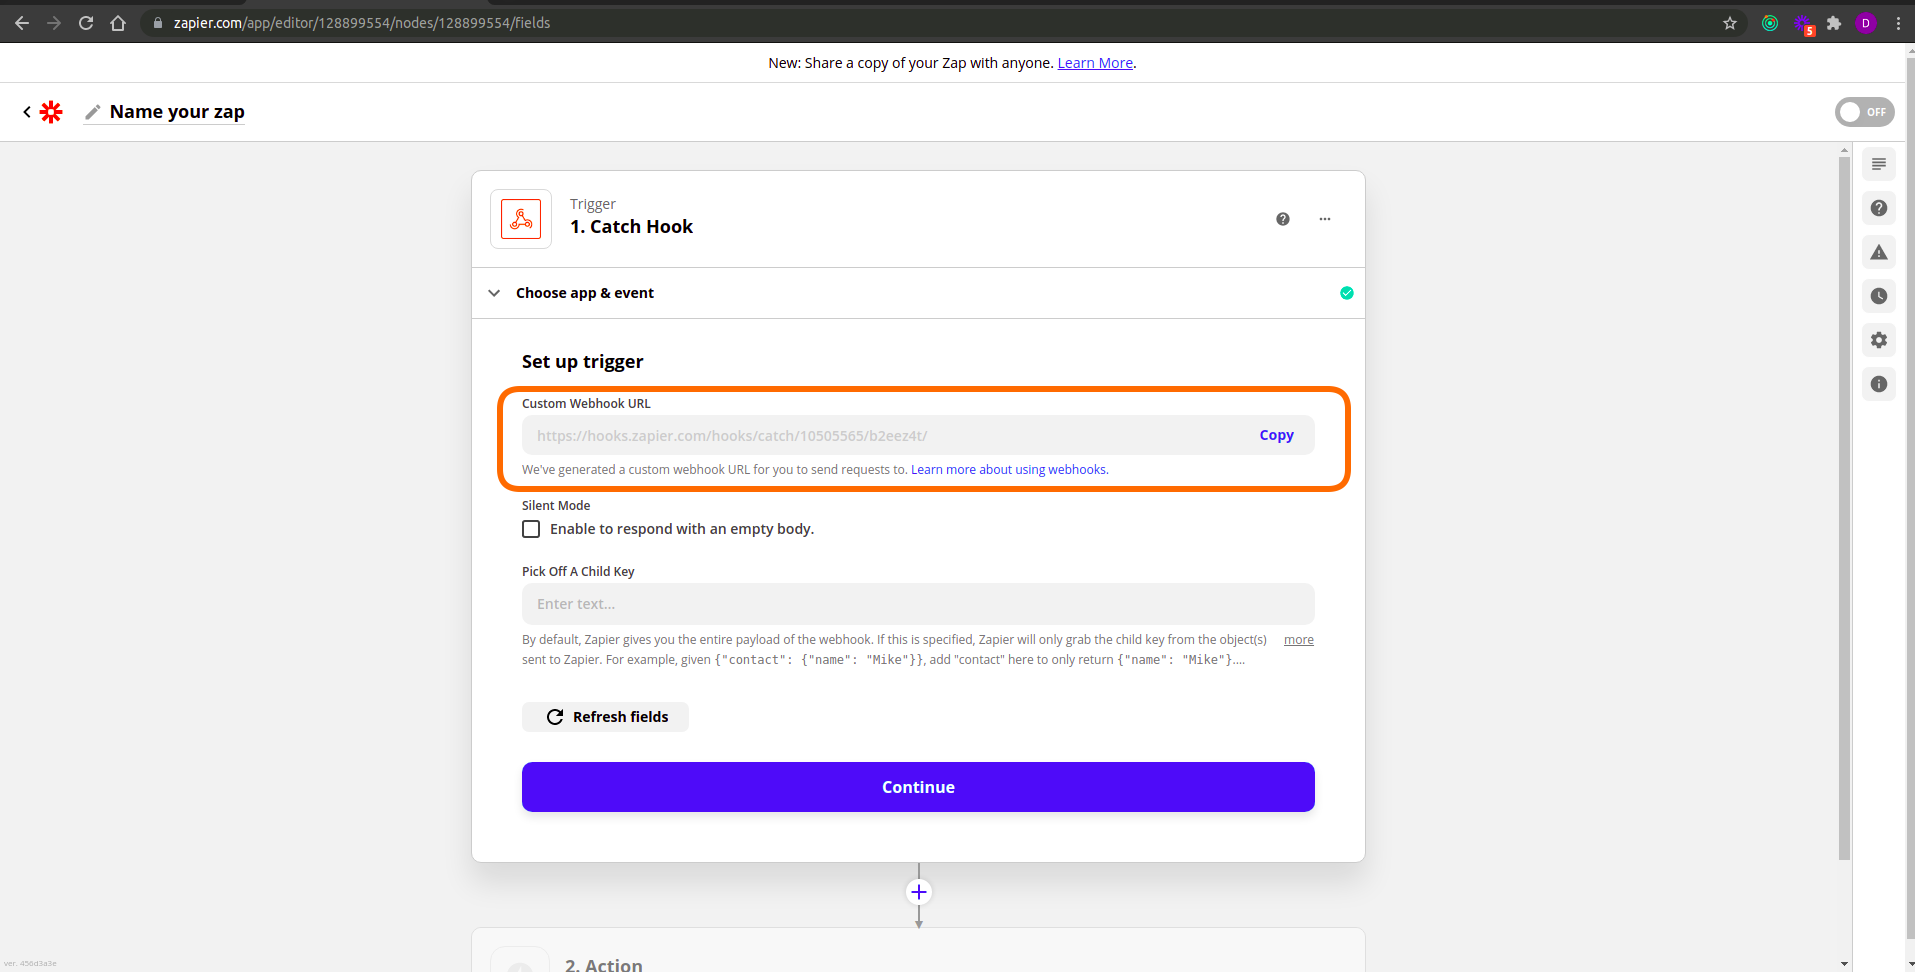
Copy the Custom Webhook URL provided by Zapier. You’ll use this in the next step.
In a new tab, log in to your TapGoods PRO account and navigate to the Zapier integration settings located under Admin > Settings (https://business.tapgoods.com/admin/settings/zapier).
Click the gear icon, paste the Custom Webhook URL from Zapier into the provided field, and click Save.
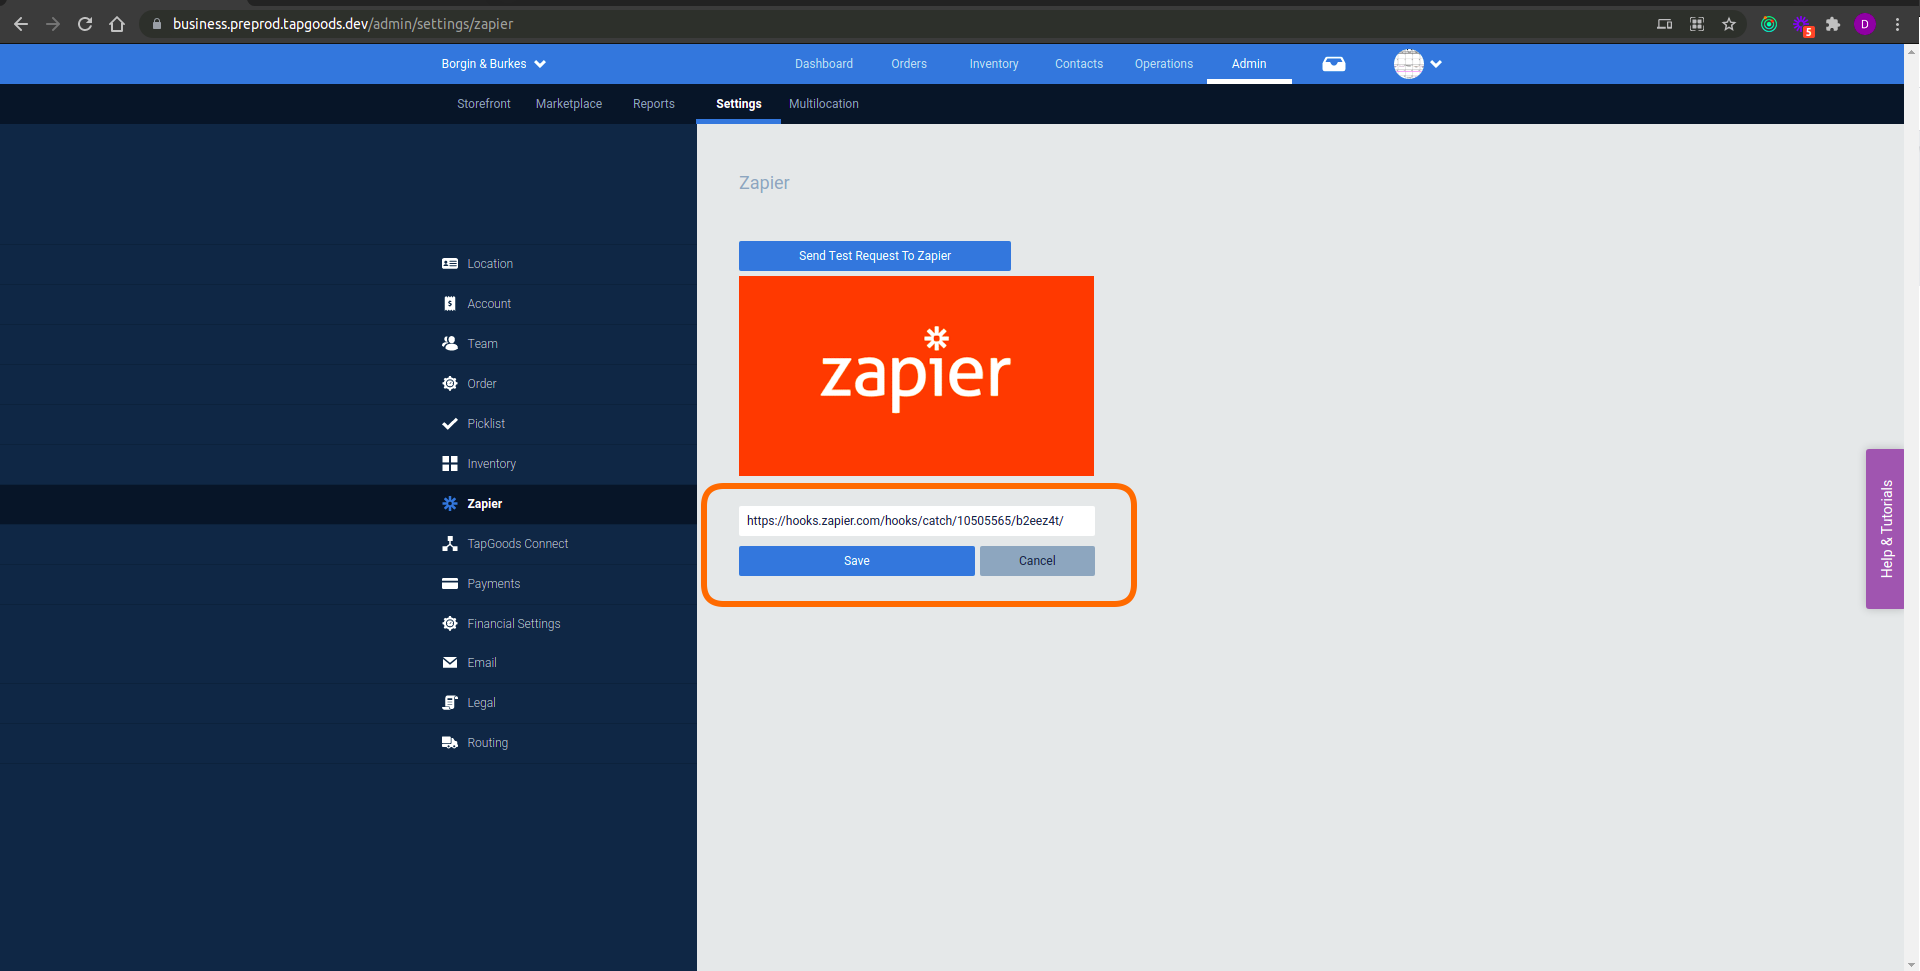
Input your Zapier Custom Webhook URL into the provided field within your TapGoods PRO Account.

Test your Trigger
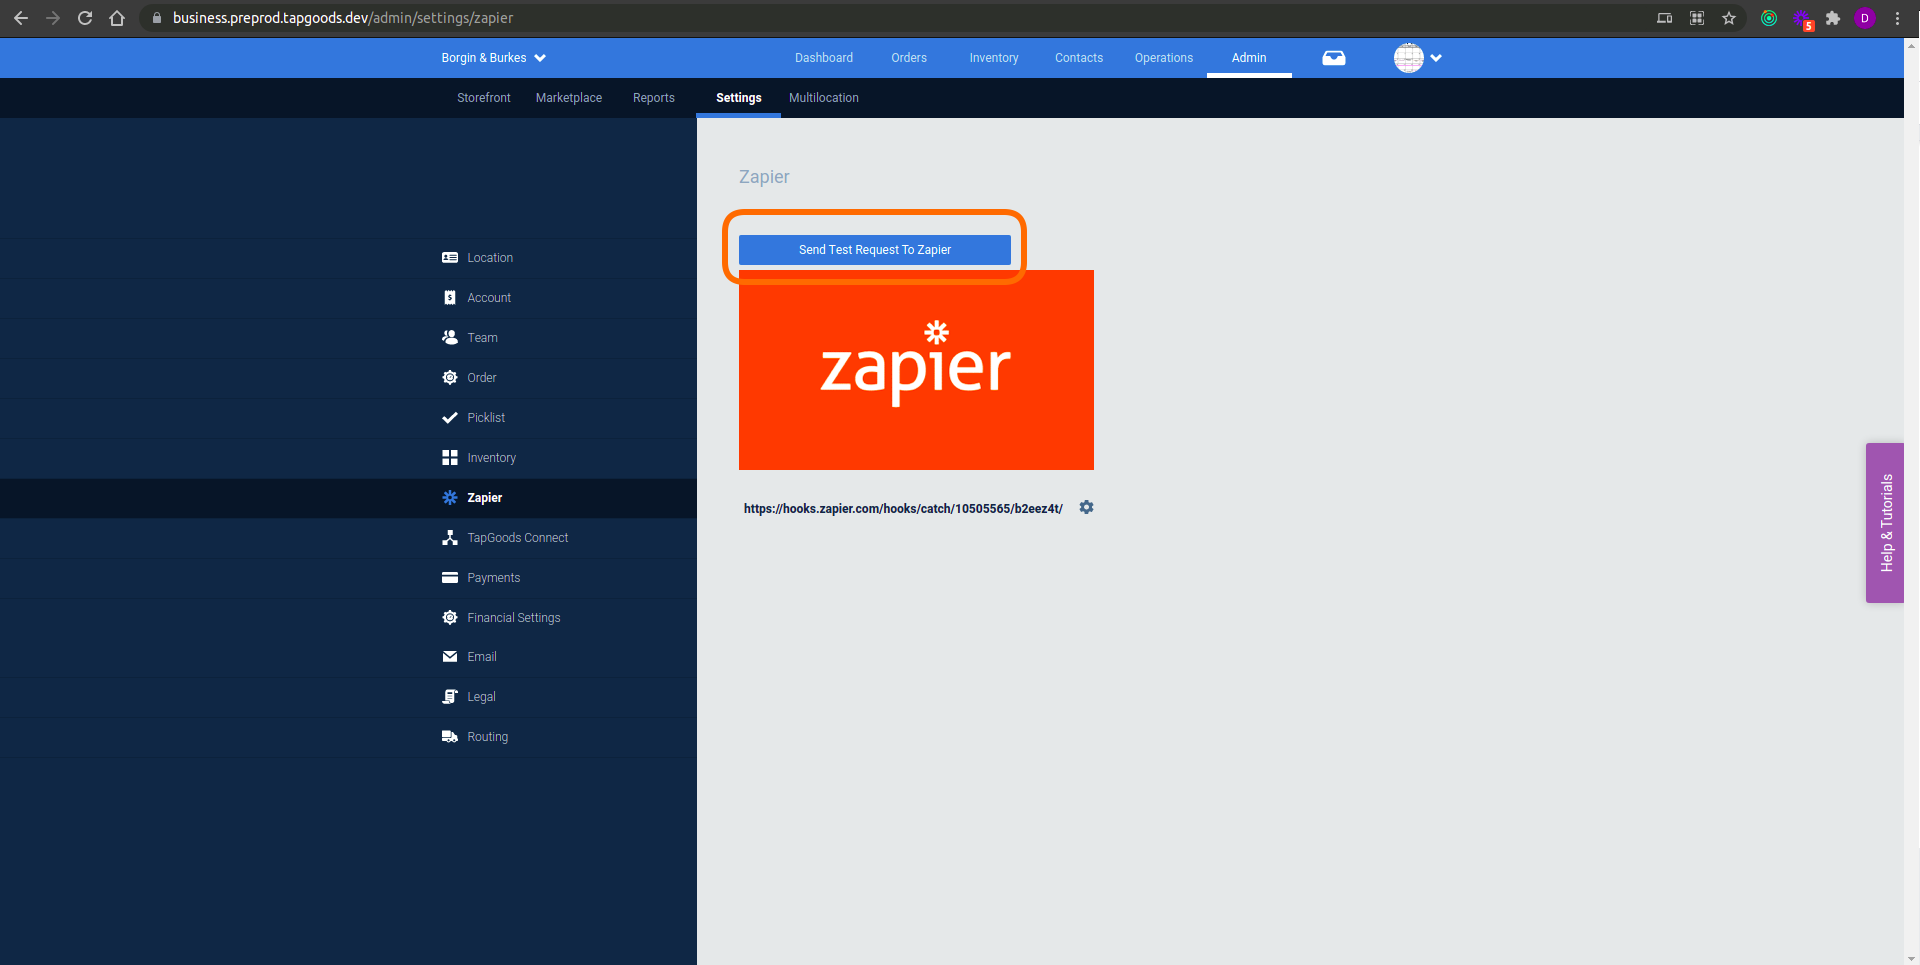
With your Zapier Custom Webhook URL entered into your TapGoods PRO account, we can now test the connection.
Within TapGoods, click the Send Test Request to Zapier button near the top of the Zapier integration settings page.
 Navigate back to your Zapier tab and click the Test Trigger button.
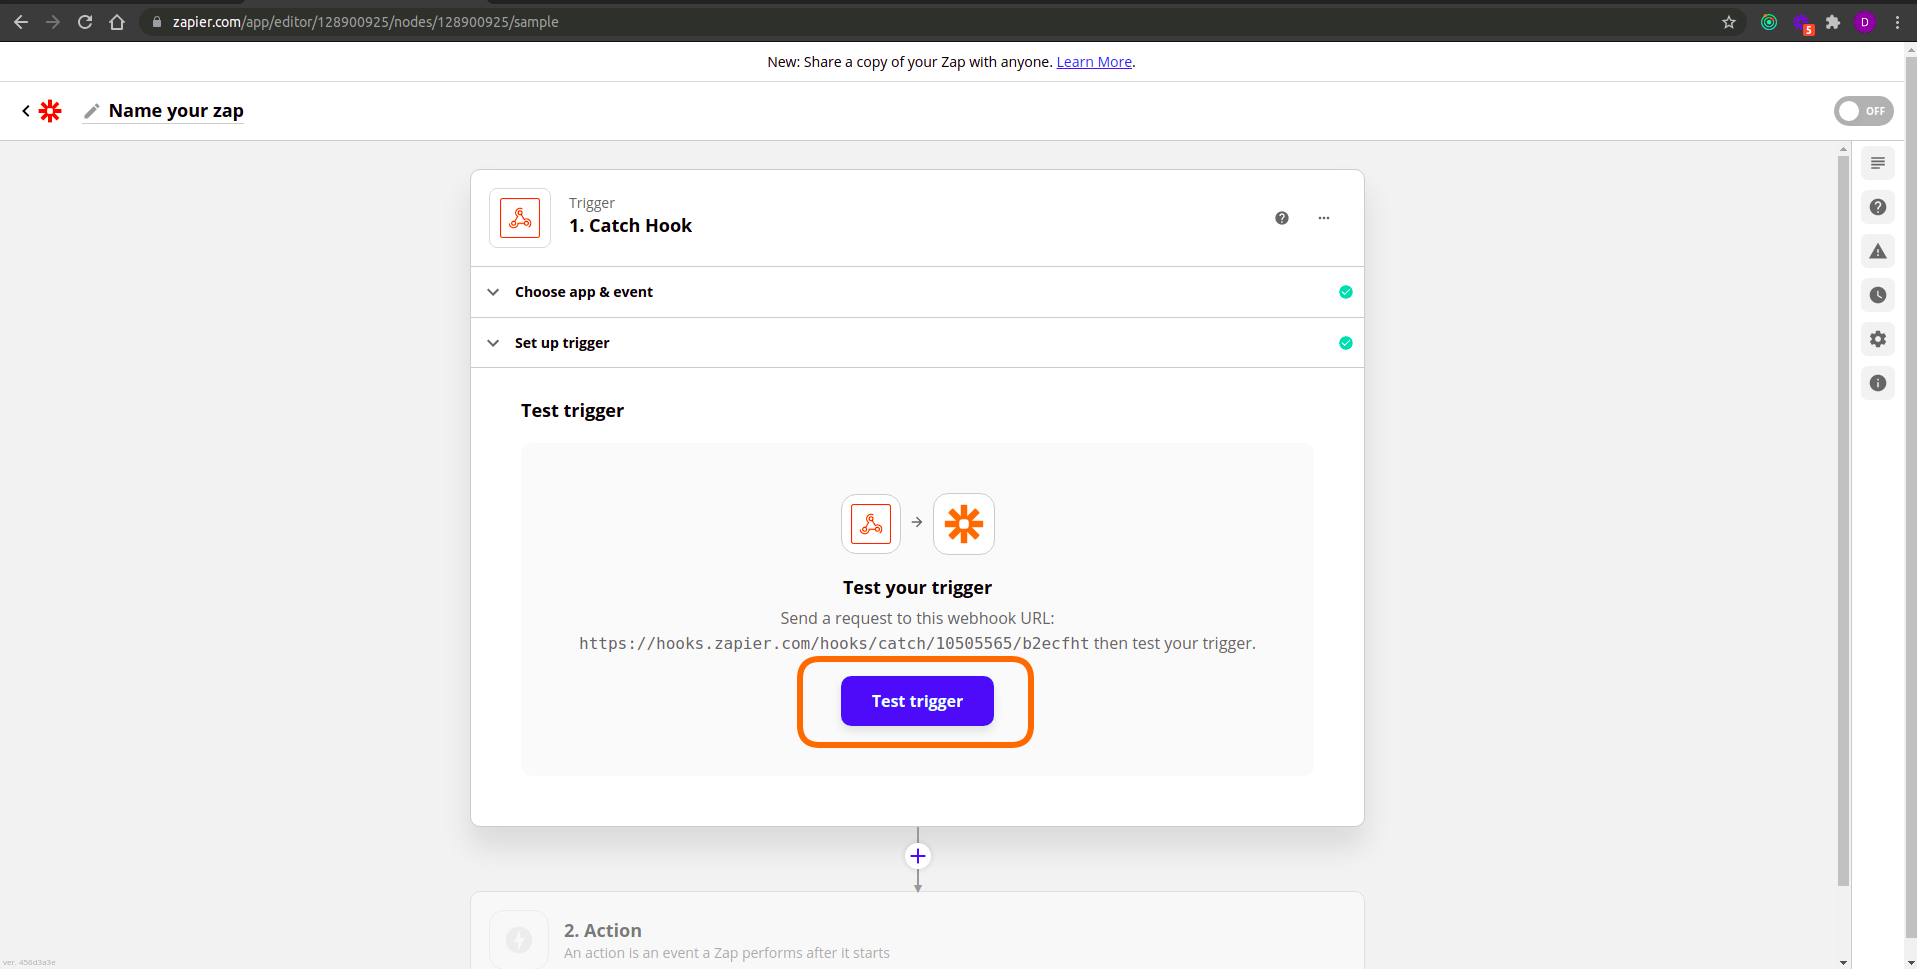
Once successful, you will be shown a collection of sample data sent from TapGoods. Your trigger is now correctly set up!
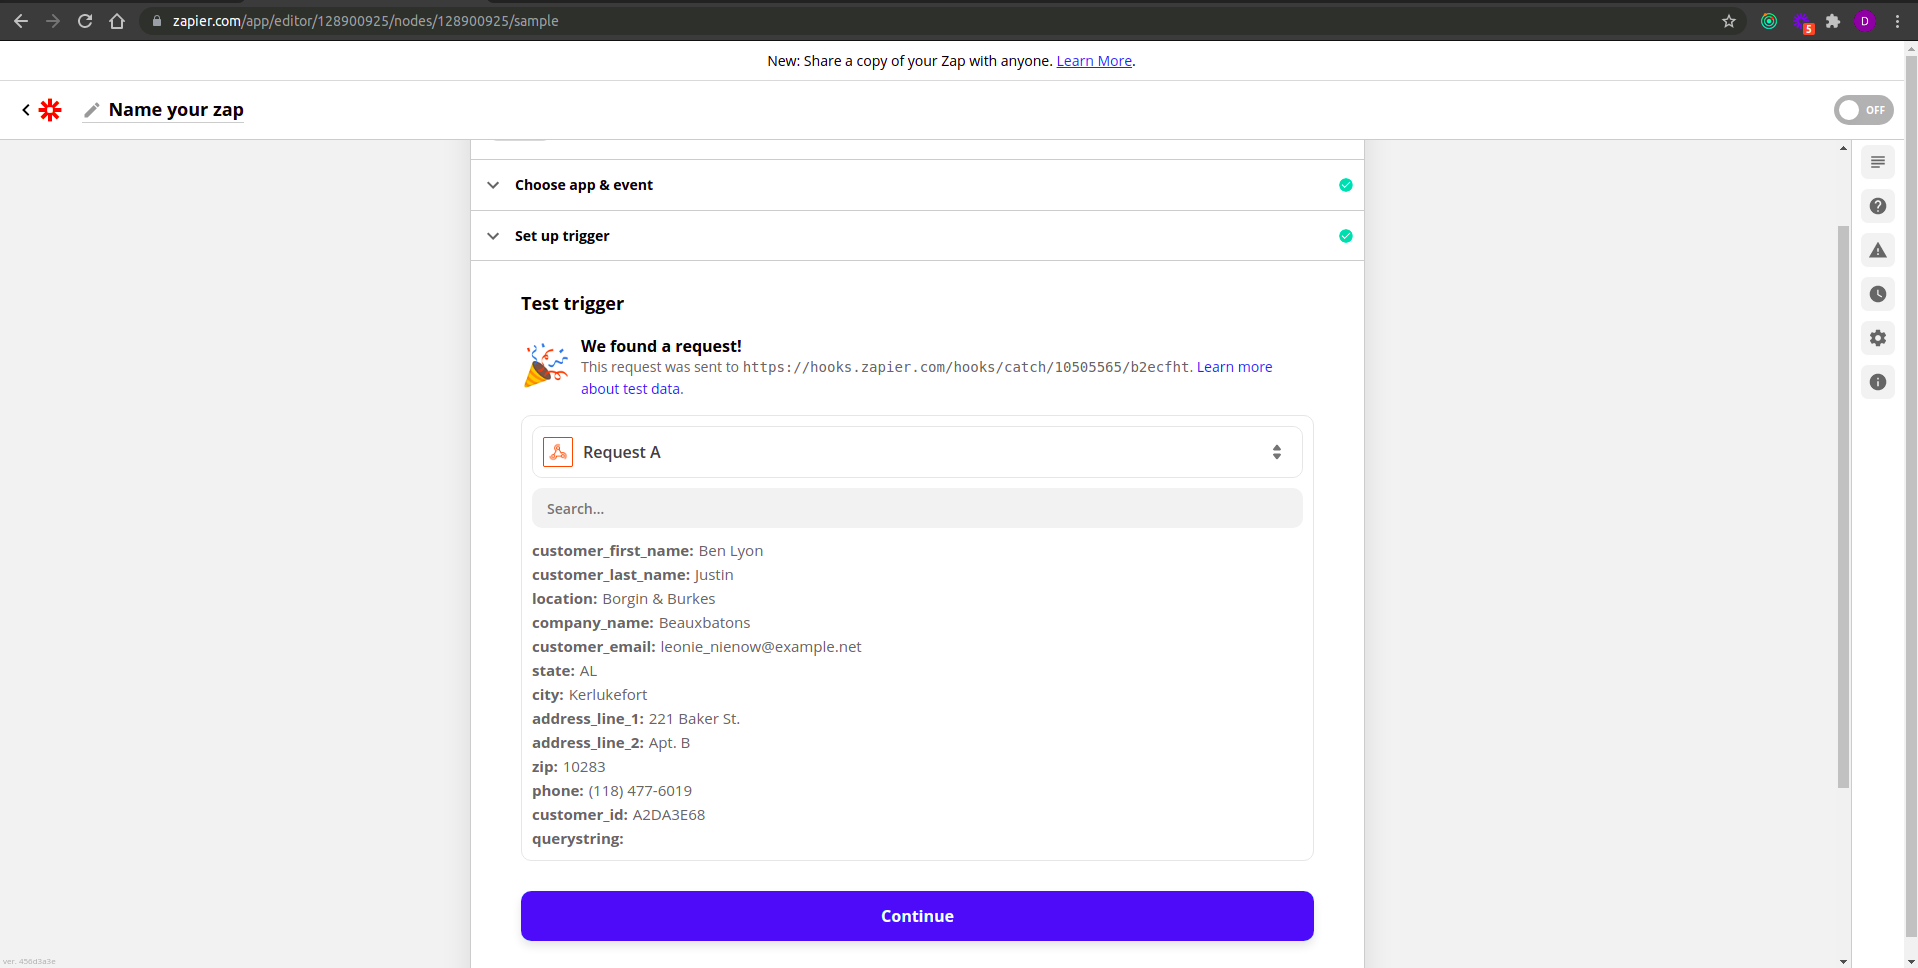
Click continue to set up your action.
Step 3 - Set Up an Action
After configuring your trigger, you can begin setting up the action that you would like to be taken whenever the trigger is activated.
Gmail Example
On the first step of the Actions settings, select or search for Gmail.
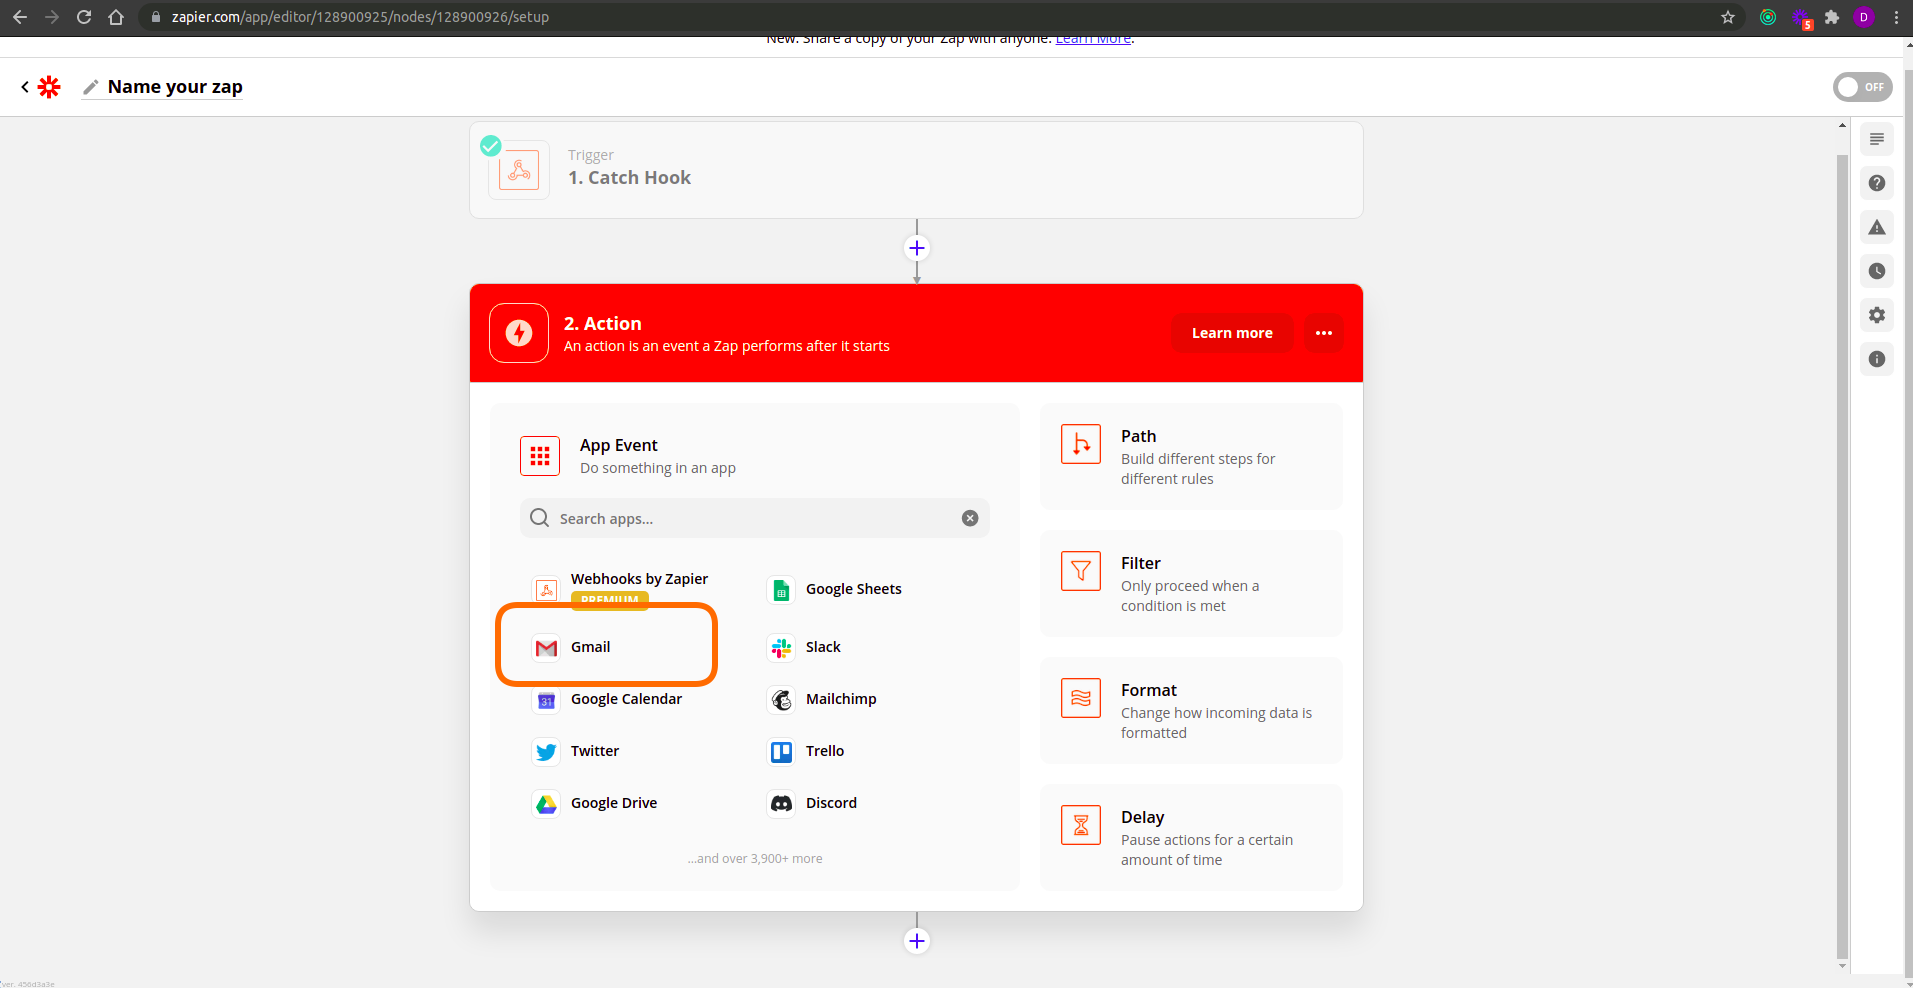
Choose your desired event from the available actions under the Action Event options. We’ll use Send Email as an example. Click Continue. Choose or connect your desired Gmail account and click Continue.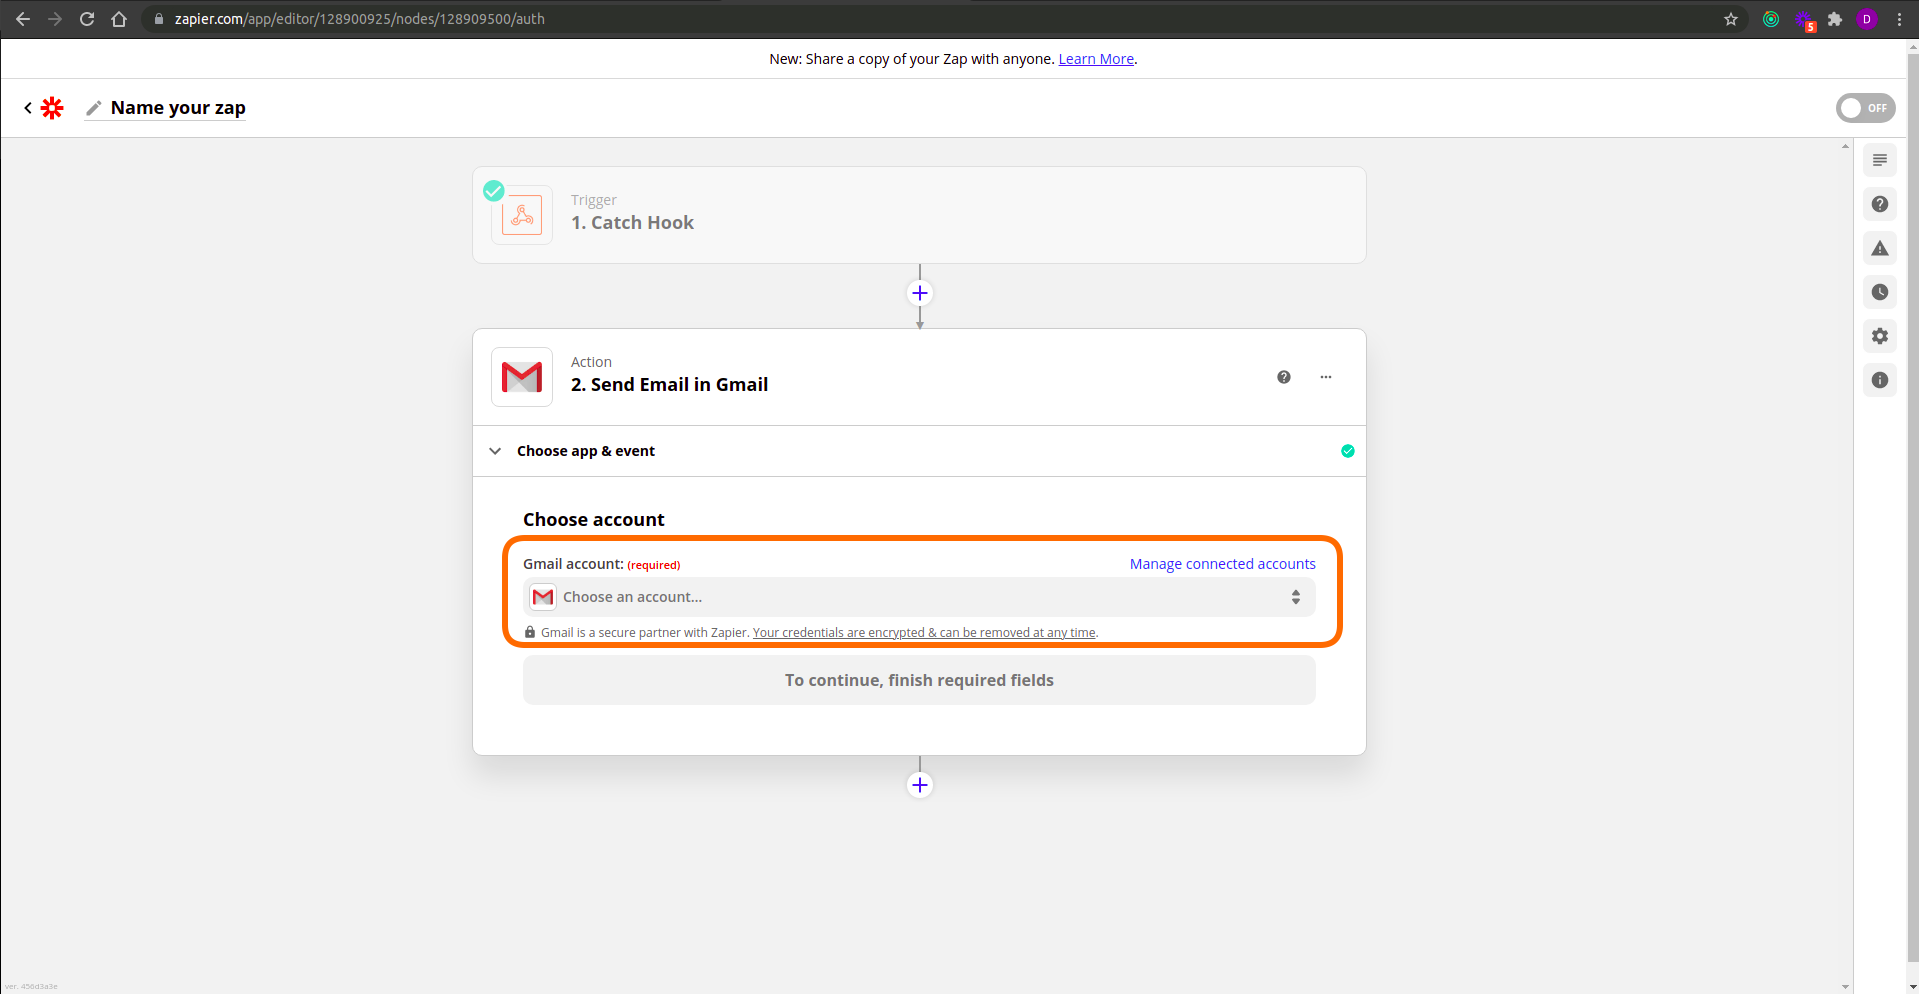 Under the Set Up Action section, you can set all of the information that you would like to be sent with the email that will be created whenever the Zapier trigger is activated.
After entering the To and From fields, you can add to the Subject and Body of the email with the information that you will receive from TapGoods through Zapier. In order to do so, simply select the desired option that appears in the Insert Data selection to add that information to your email.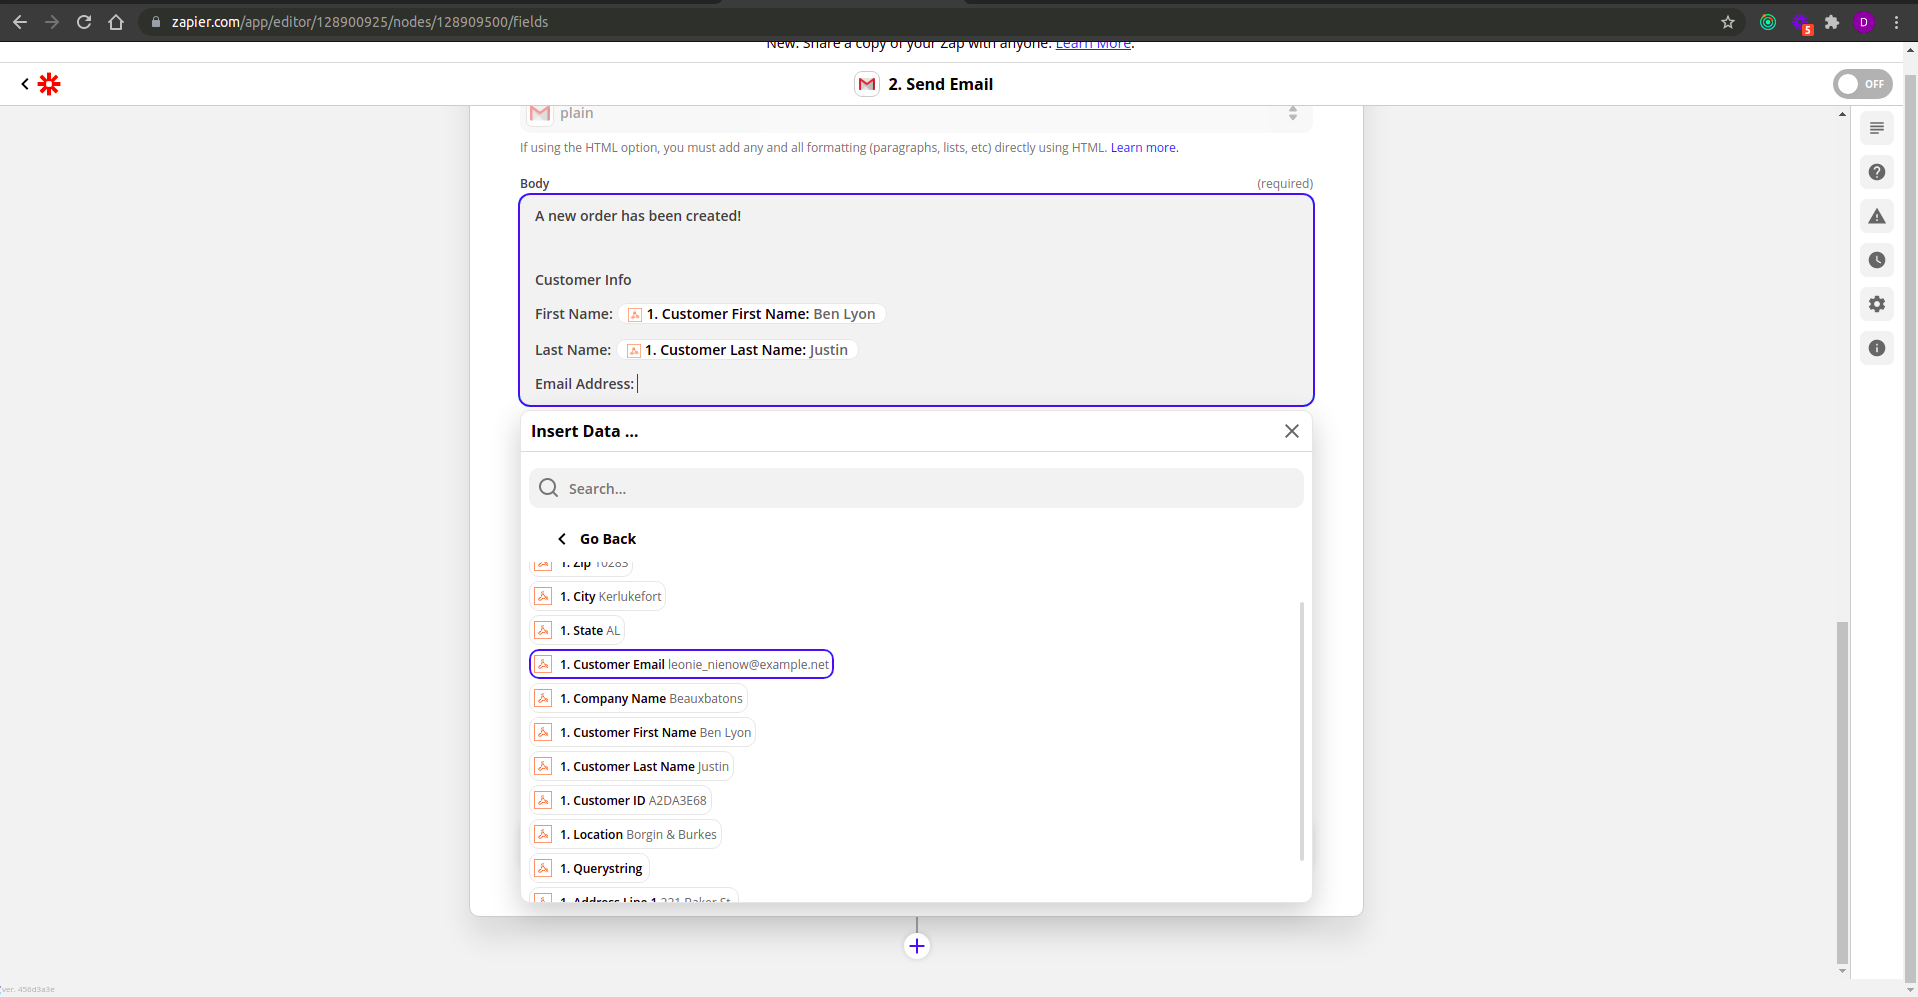
Once you have the email set as you would like, click Continue. You can now send a test email to confirm that everything has been set up correctly.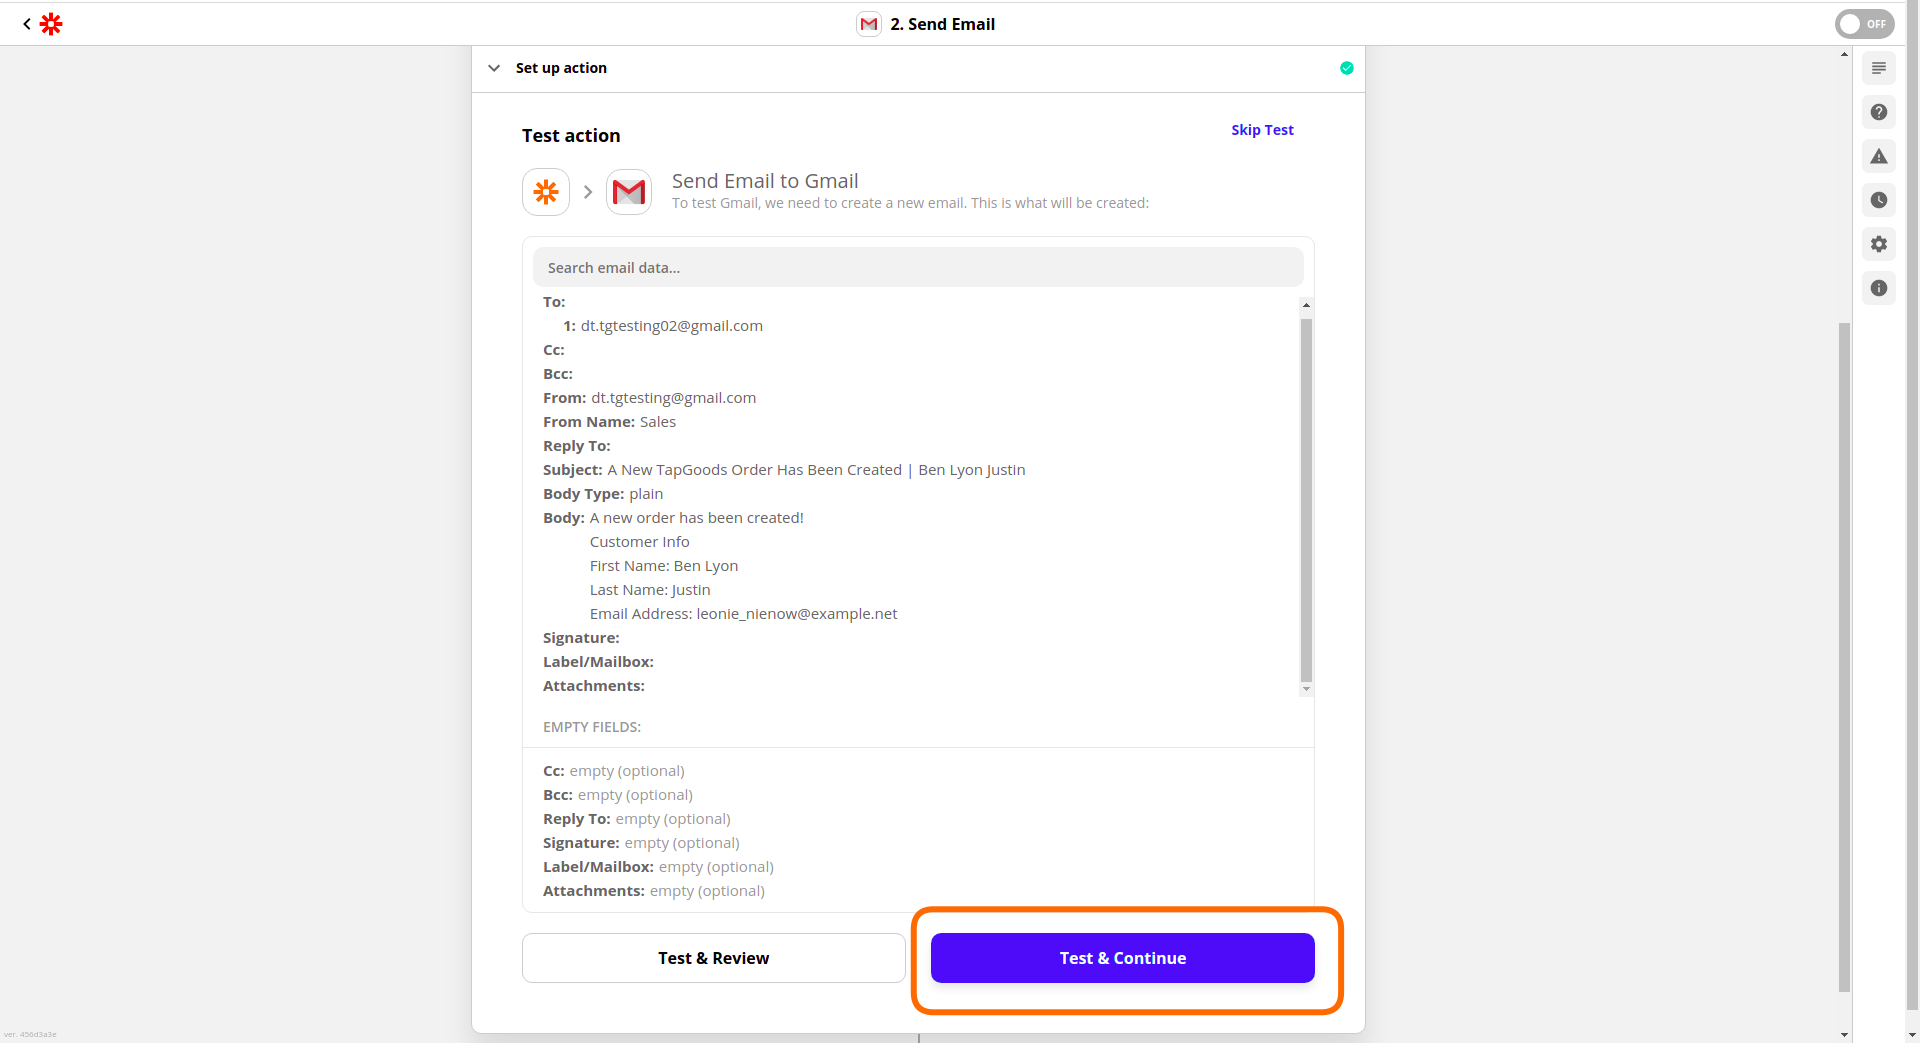 Once you have confirmed that everything is accurate, simply click “Turn on Zap”.
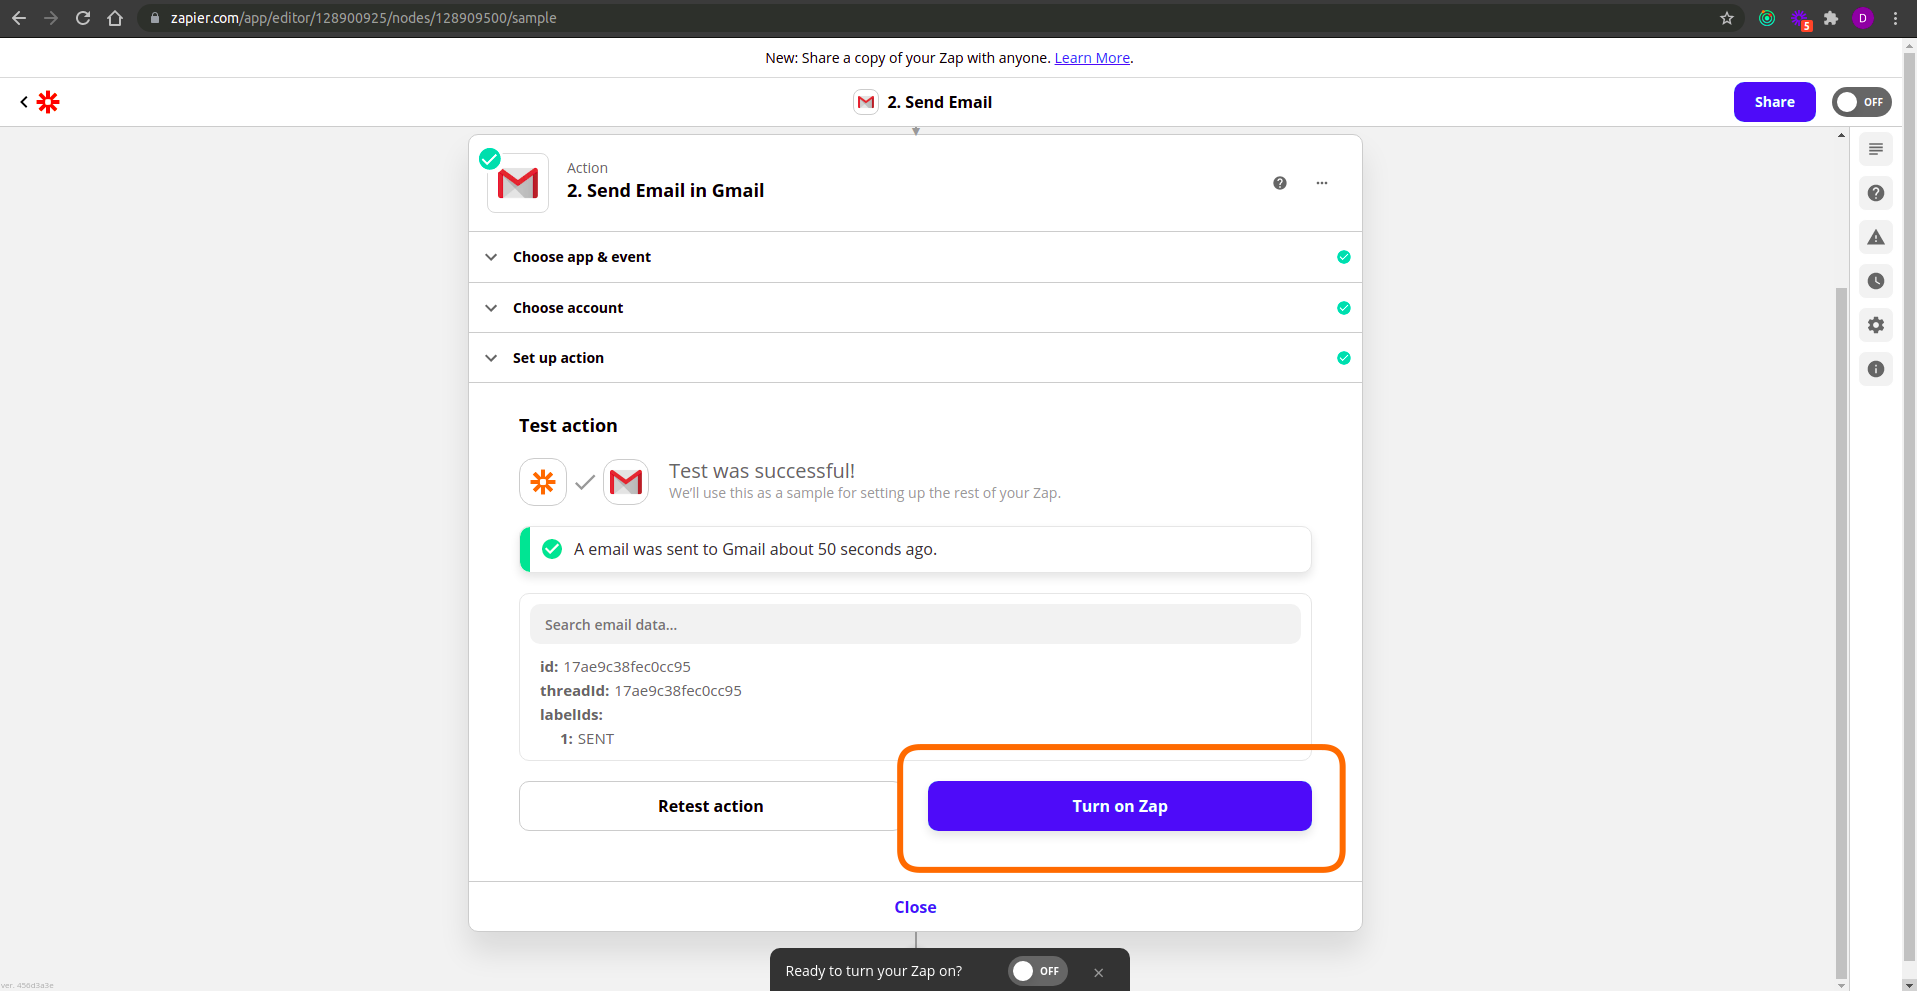
Your zap is now configured and a new email will be sent through Gmail whenever the Trigger is activated (Currently whenever a new order is created through TapGoods)!
Related Articles